How to handle a roof leak during a heavy rainstorm
Finding water dripping from your ceiling during a downpour is a stressful moment. The first instinct might be to panic, but staying calm and following a clear sequence of actions can limit damage and help you identify the real problem. A roof leak that shows up during heavy rain often points to a specific weakness in the roof system, not necessarily a full failure. Understanding what to do in the moment, and what to look for once the rain stops, makes the difference between a quick fix and a major repair.
Step one: Contain the water and protect your interior
The moment you notice a leak, move anything valuable out of the way. Furniture, electronics, and personal items should be relocated to a dry area. Place a bucket, large pot, or plastic bin under the drip to catch the water. If the leak is active and the ceiling is bulging or sagging, poke a small hole at the lowest point of the bulge with a screwdriver. This lets the water drain into your container instead of pooling and causing the ceiling to collapse. A collapsed ceiling means more mess, more damage, and a bigger safety risk.
Spread towels or old blankets around the container to absorb splashes. If the leak is near a wall, check for water running down inside the wall cavity. A wet spot on the wall or baseboard means the water has traveled from the roof entry point, possibly bypassing the attic. That makes finding the exact source harder, but containing the water now gives you time to investigate later.
Step two: Check the attic or crawl space
If you have safe access to an attic or roof cavity, go up there with a flashlight. The best time to trace a leak is while it is still raining, because you can see water actively running. Look for wet insulation, dark trails on rafters, or dripping water. The entry point is often not directly above the ceiling stain. Water can run along roof decking, trusses, or pipes before it drips down. Follow the water trail uphill to its origin. Common places to check include roof valleys, where two sloping roof planes meet, and areas around roof vents, plumbing stacks, or chimneys. Flashing, the metal or rubber material that seals these penetrations, is a frequent failure point. If the flashing is lifted, cracked, or missing, water can enter even if the shingles look fine.
Pay attention to the underlayment, the waterproof layer beneath the shingles. If the underlayment is exposed or damaged, that is a direct path for water. Also check for daylight coming through gaps in the roof decking. Any visible light means there is a hole large enough for rain to enter. Do not walk on the roof in wet or stormy conditions; that is dangerous. The attic inspection gives you enough information to understand the likely cause.

Step three: Temporary measures until the storm passes
Once you have identified the general area of the leak, you may be able to apply a temporary patch from the inside. A piece of plastic sheeting or a tarp laid over the wet area inside the attic, weighted down, can redirect water into a bucket. Do not caulk or seal anything while the roof decking is wet; sealants will not bond properly. The goal here is damage control, not a permanent fix.
If the leak is severe and water is coming in fast, consider turning off the power to the affected room if any electrical fixtures or outlets are near the water. Water and electricity are a dangerous combination. If you are unsure, call an electrician or wait until the rain stops and the area dries before using those circuits again.
Step four: Inspect the roof exterior after the rain stops
Once the sky clears and the roof is dry enough to walk on safely, you can do a thorough roof leak inspection. Start by walking around the property and looking at the roof from ground level with binoculars. Look for missing or lifted shingles, damaged flashing, and debris buildup in valleys. Pay special attention to areas around skylights, chimneys, and roof vents. These are the most common leak points because they require careful flashing and sealing during installation.
If you can safely access the roof, check the condition of the shingles themselves. Cracked, curled, or blistered shingles can allow water to seep through, especially during heavy rain when wind drives water sideways. Also inspect the roof decking for rot or soft spots. A spongy area underfoot suggests water has been getting in for a while, even if the leak only became visible now. Look at the ridge caps and hip joints, where multiple roof planes meet. These joints are vulnerable to wind-driven rain.
Step five: Understand what the leak tells you
Not all roof leaks are the same. A leak that only appears during heavy rain often points to a flashing failure, a missing shingle, or a valley that is clogged with leaves and debris. A leak that happens during any rain, even a light drizzle, suggests a more serious issue like damaged underlayment or a hole in the decking. A leak that only appears when the wind blows from a certain direction may be caused by wind lifting the shingles or driving rain sideways under the flashing.
Knowing these patterns helps you describe the problem accurately. This is where the value of a professional roof leak inspection becomes clear. A roofing contractor can look at the same signs and identify whether the issue is a simple repair or a sign of broader roof deterioration. For example, if the leak is coming from a roof valley, the fix might be as straightforward as cleaning out debris and resealing the flashing. But if the underlayment is torn or the decking is rotted, the repair could involve replacing a larger section of the roof.

If your inspection reveals problems beyond a single shingle or flashing point, it is wise to call a professional. A local roofing contractor like Regenesis Roofing & Restoration LLC can perform a detailed inspection and recommend the right course of action. They serve Cedar Park, Leander, and nearby North Austin communities, offering roof inspections, repairs, replacements, hail damage restoration, and storm-related roofing services. Their team has the experience to spot hidden damage that a homeowner might miss.
Step six: Decide on the repair approach
Once you know the source of the leak, you can decide whether to repair it yourself or hire a pro. Small fixes like replacing a single shingle or resealing a flashing joint are manageable for someone comfortable on a roof. But be honest about your skill level and your comfort with heights. Roof work is dangerous, and a mistake can make the leak worse or cause injury.
If the damage involves the underlayment, roof decking, or multiple shingles, professional help is usually the better choice. A contractor will have the materials and techniques to match the existing roof, ensuring the repair is watertight and lasts. They can also check for secondary damage, such as mold growth in the attic or rot in the framing. Mold growth is a serious health concern that often follows a roof leak, especially in climates with high humidity. A professional roof leak inspection typically includes checking for these hidden issues.
Step seven: Prevent future leaks with regular maintenance
Once the leak is fixed, take steps to prevent it from happening again. Clean gutters and valleys at least twice a year, especially before the rainy season. Debris buildup in valleys forces water to back up under the shingles. Trim overhanging tree branches that drop leaves and can scrape the roof surface. Check flashings around roof vents, chimneys, and skylights annually for cracks or separation. A small crack in the sealant can grow into a leak during a heavy storm.
Consider scheduling a professional roof inspection every one to two years, even if you have no visible leaks. A contractor can spot worn shingles, loose flashing, and deteriorating underlayment before they cause interior damage. This kind of preventive maintenance costs less than emergency repairs and extends the life of the roof. For homeowners in Central Texas, where hailstorms and high winds are common, regular inspections are especially valuable. Hail damage can weaken shingles and flashings in ways that are not obvious until the next heavy rain.
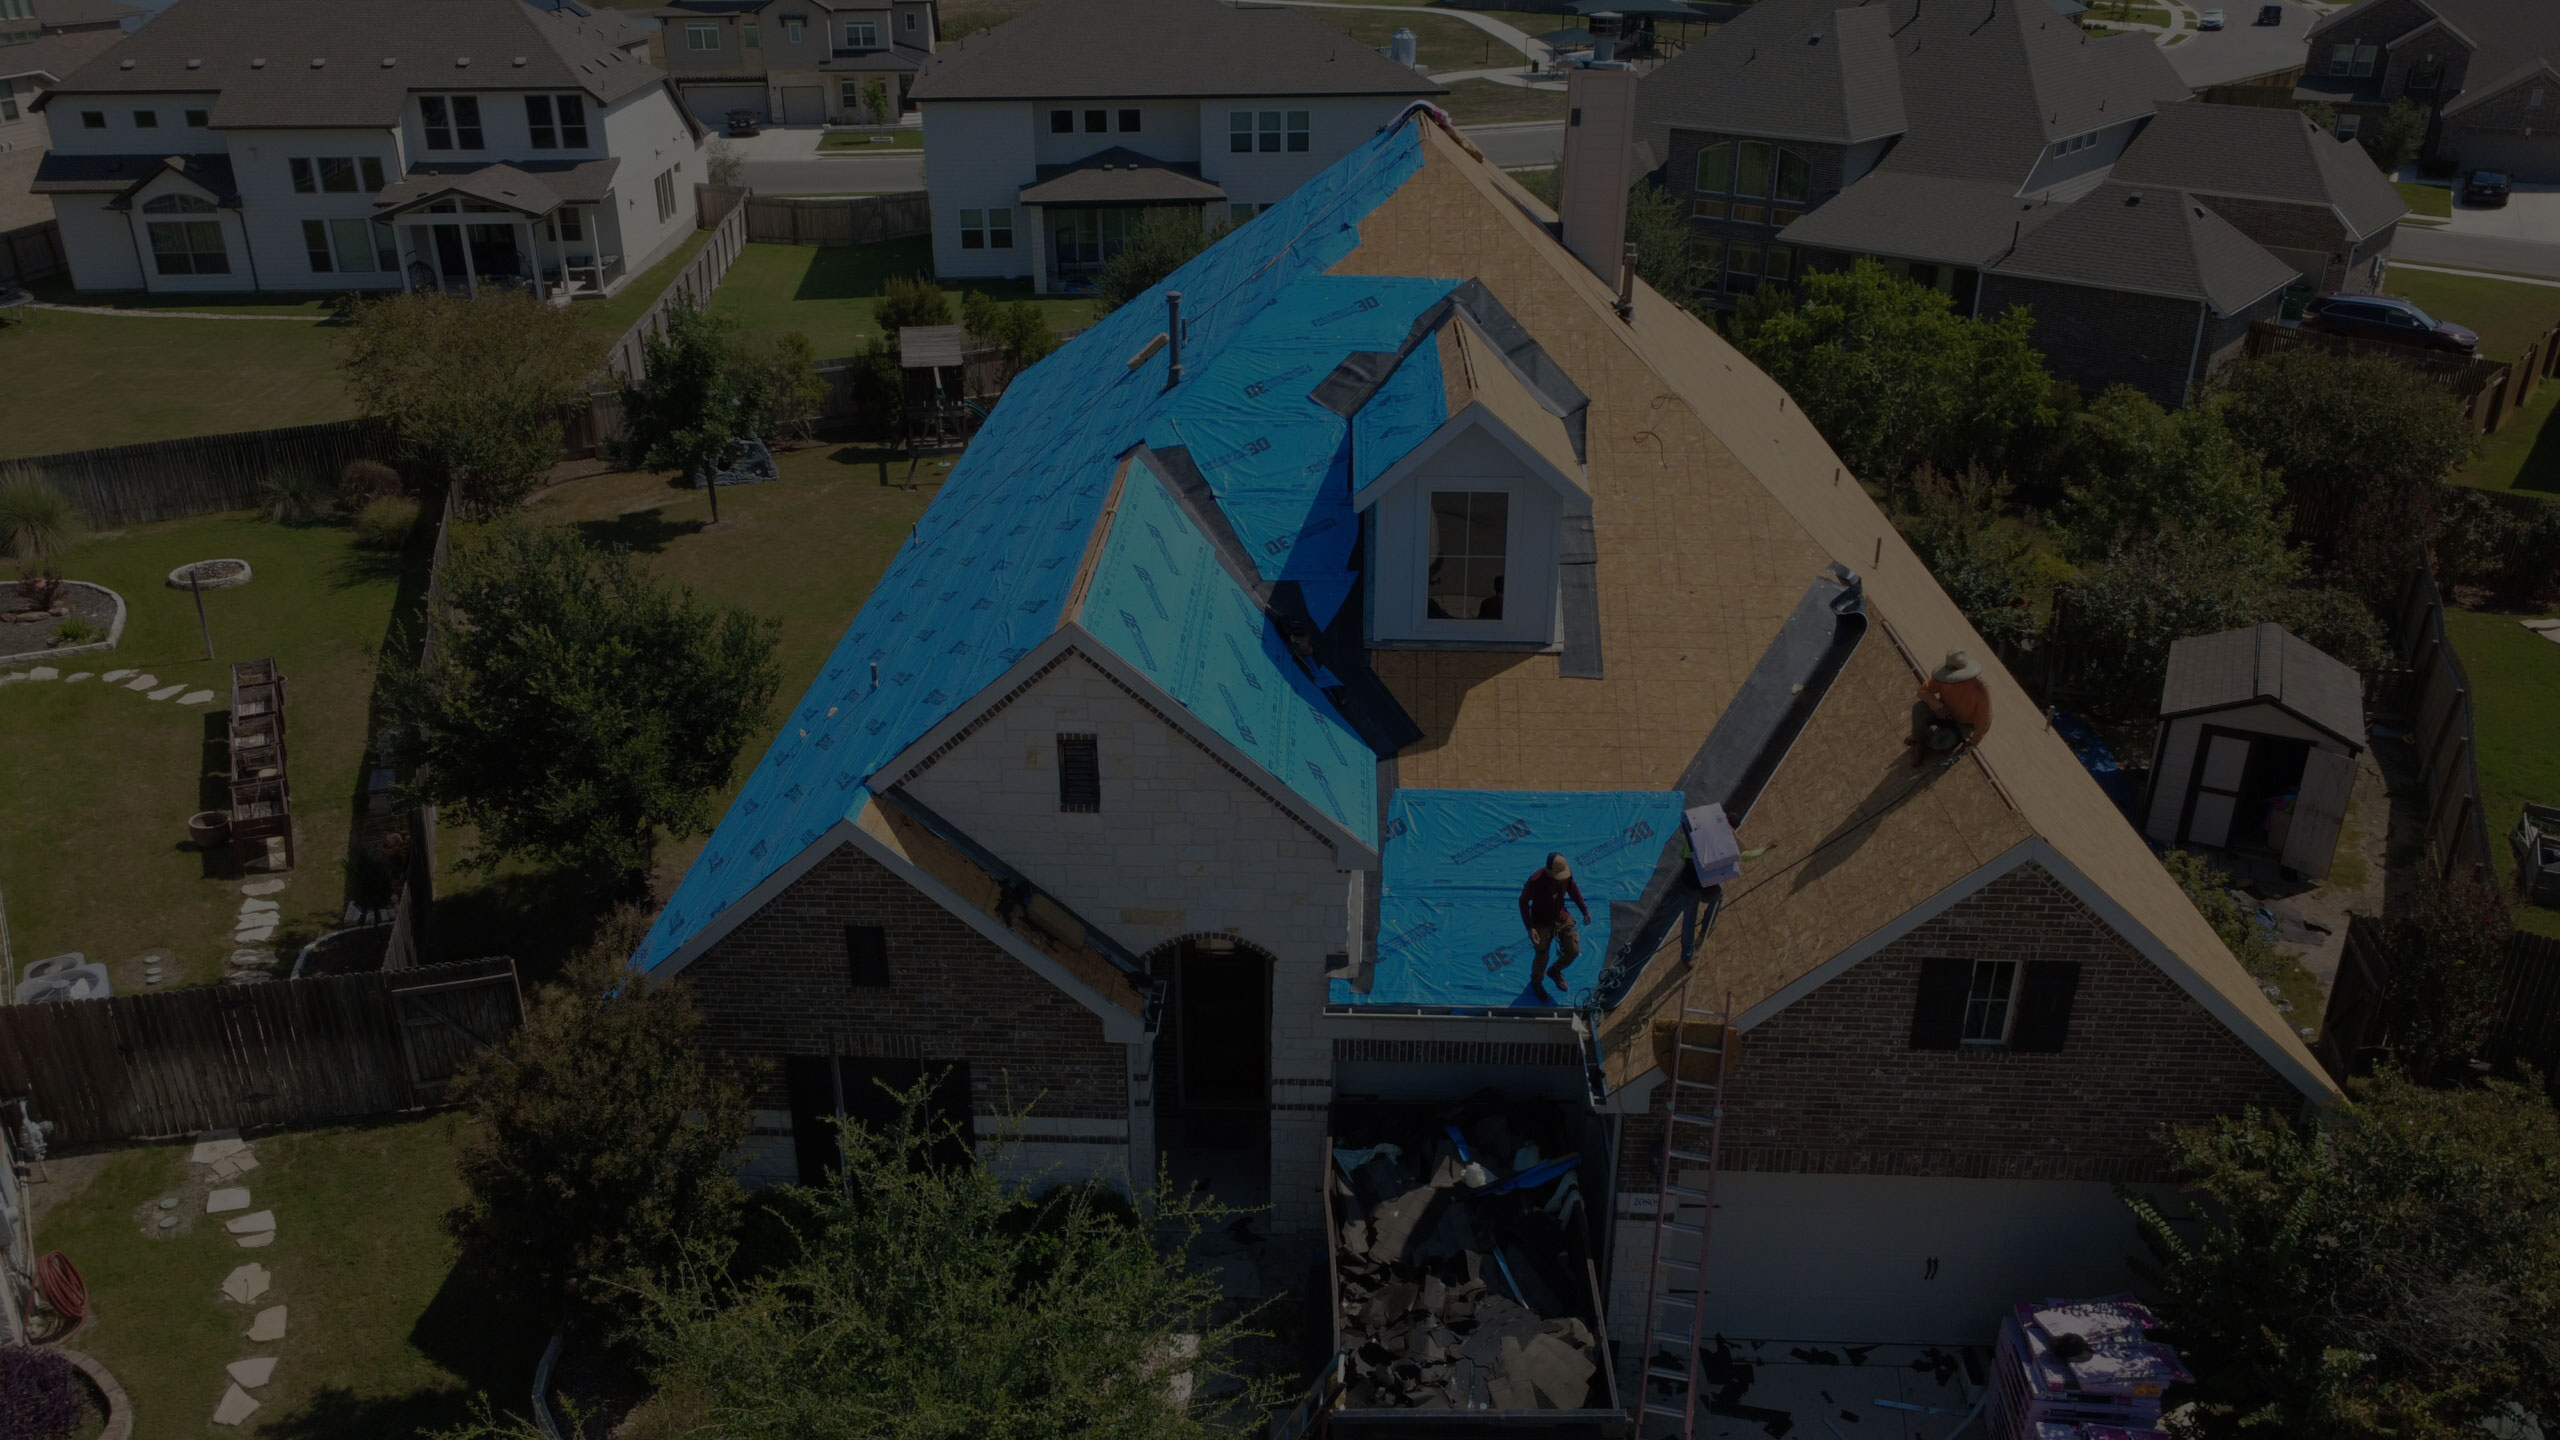
If you are looking for a reliable partner for ongoing roof care, Regenesis Roofing & Restoration LLC offers inspection and maintenance services designed to catch small problems early. Their address is 2302 John Tee Dr, Cedar Park, TX 78613, USA, and they can be reached at +1 512-674-5979. They specialize in roof inspections, repairs, replacements, hail damage restoration, and storm-related roofing services for Cedar Park, Leander, and nearby North Austin communities.
Knowing what to do when you discover a roof leak during heavy rain keeps the situation manageable. The key steps are containing the water immediately, checking the attic while it is still raining, inspecting the roof exterior when it is dry, understanding what the leak tells you, and deciding on the right repair. A quick, calm response limits damage to your home and gives you the information you need to fix the problem properly. Whether you handle the repair yourself or call a professional, the most important thing is to act before the next storm arrives.
Regenesis Roofing & Restoration LLC is also on Instagram.